Laser cutting has revolutionized the art of jewelry making, giving craftsmen and designers powerful tools to create intricate and precise pieces.
This comprehensive guide explores the world of laser cut jewelry, providing everything from the types of materials suitable for laser cutting to a step-by-step guide on how to laser cut jewelry at home, as well as FAQs to solve common problems, designed to help hobbyists and professionals alike.
In this article:
Part 1: What Types of Jewelry Are Suitable for Laser Cutting?
Laser cutting is a versatile technology that can be used to create intricate and precise designs on various materials. When it comes to jewelry, laser cutting is particularly suitable for certain materials and designs. Here are some types of jewelry that are commonly made using laser cutting:
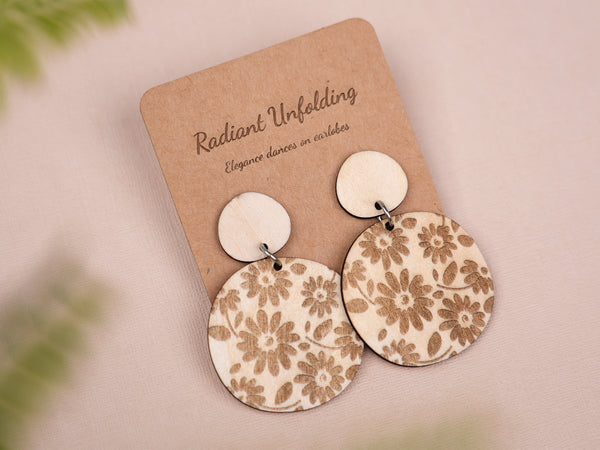
1. Wooden Jewelry:
Laser cutting works well with different types of wood, allowing for the creation of wooden jewelry with intricate patterns and shapes. It is important to choose woods that are suitable for laser cutting.
2. Acrylic and Plastic Jewelry:
Laser cutting is commonly used for acrylic jewelry due to its ability to create clean edges and intricate details. Acrylic can come in various colors, and the laser can engrave or cut through it to produce unique designs.
Similar to acrylic, laser cutting can be employed on various types of plastic to create lightweight and colorful jewelry pieces.
3. Leather Jewelry:
Laser cutting is often used to create detailed designs on leather, resulting in unique and intricate leather jewelry pieces. It can cut through the material or simply engrave it.
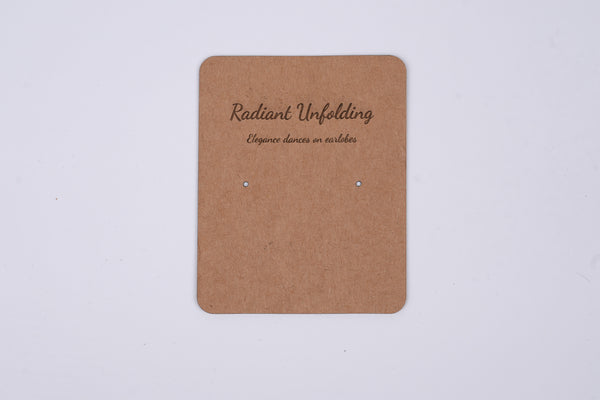
4. Paper and Cardboard Jewelry:
Thin paper and cardboard can be cut into intricate shapes using laser technology, allowing for lightweight and delicate jewelry designs.
5. Gemstone Inlay:
Laser cutting can be used to create precise channels in metal or other materials for the inlay of gemstones. This technique can enhance the overall design of the jewelry.
6. Textile and Fabric Jewelry:
Laser cutting is suitable for cutting fabric and creating detailed patterns. This can be used in textile jewelry or for adding fabric elements to metal or other materials.
Part 2: How to Laser Cut Jewelry at Home - Step by Step Guide
Laser cutting jewelry at home requires careful consideration of safety measures, the right equipment, and appropriate materials. Here's a general step-by-step guide for laser cutting jewelry at home:
Step 1: Gather Materials and Equipment
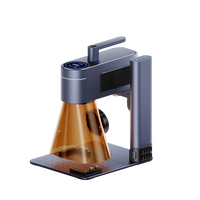
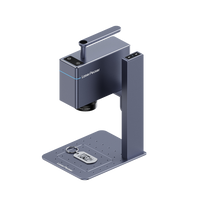
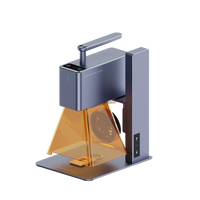
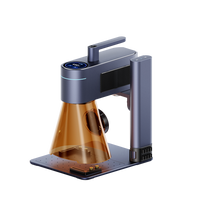
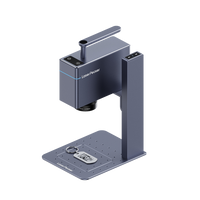
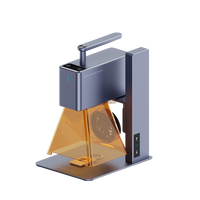
- Laser Cutter: Invest in a desktop laser cutter such as LaserPecker LX1 suitable for jewelry making at home.
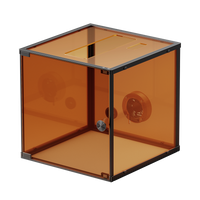
- Safety Gear: Wear laser safety glasses to protect your eyes from laser radiation. Consider using a fume extractor or working in a well-ventilated area.
- Design Software: Use LaserPecker Design Space software to create your jewelry designs.
- Materials: Choose materials suitable for laser cutting, such as wood, acrylic, leather, or other approved materials for your laser cutter.
Step 2: Design Your Jewelry
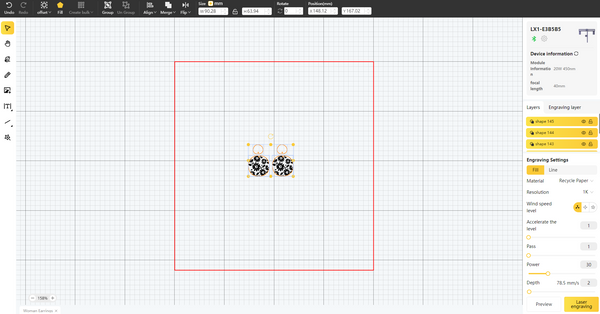
Design your jewelry piece using vector graphics software. Create a file with the specific dimensions of your material. Account for the kerf (width of the laser cut) in your design. Adjust the shapes accordingly to achieve the desired final dimensions.
Step 3: Set Up the Laser Cutter
Follow the manufacturer's instructions to calibrate and set up your laser cutter. Ensure the correct focus and alignment.
Prepare your chosen material by securing it to the laser bed. Use materials that are safe for laser cutting and avoid materials that may release harmful fumes.
Adjust the laser power and cutting speed settings based on the material you're working with. Refer to the material guidelines provided by the laser cutter manufacturer.
Step 4: Test the Laser Cutter
Before cutting your actual jewelry design, perform a test run on scrap material to ensure the settings are correct and the design turns out as expected.
Step 5: Load and Cut
Load your jewelry design file into the laser cutter software. Position the design on the material using the software's interface.
Start the laser cutting process, ensuring that you are closely monitoring the laser cutter. Be prepared to pause or stop the process if needed.
Step 6: Post-Cutting Steps
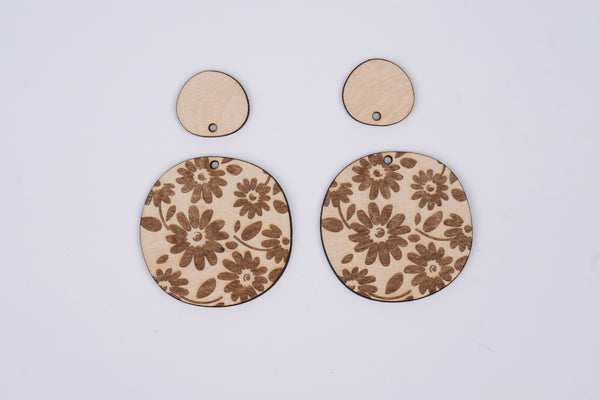
Once the laser cutting is complete, carefully remove the cut pieces. Inspect the edges and details to ensure they meet your expectations.
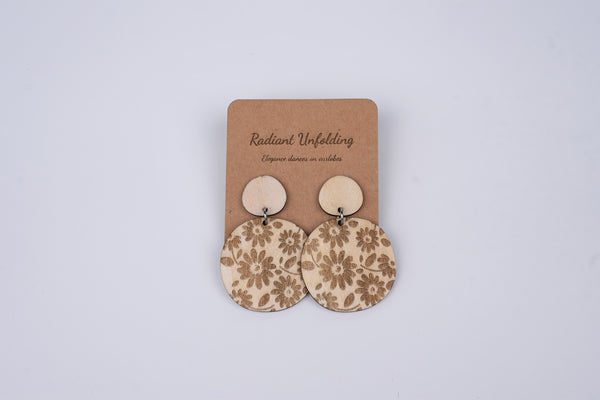
Depending on the material, you may need to perform additional finishing steps such as polishing, assembling, or adding clasps and findings. For more info, please check our LaserPecker CraftZone.
Step 7: Safety and Maintenance
Regularly clean the laser cutter, removing any debris or residue from the cutting process. Follow safety guidelines provided by the laser cutter manufacturer and adhere to proper safety practices. Store materials in a safe and well-ventilated area, following any guidelines for the specific materials you're using.
Part 3: FAQs about Laser Cut Jewelry
1. Can I use any laser cutter for jewelry making?
While many laser cutters can be used for jewelry making, it's essential to choose one that offers the precision and power required for intricate designs on small pieces. LaserPecker Desktop Laser Cutter are popular choices.
2. Is it safe to laser cut jewelry at home?
Laser cutting involves potential safety hazards, such as laser radiation and fumes. It is crucial to follow safety guidelines, wear protective gear, and work in a well-ventilated area. Some materials may emit toxic fumes, so choose materials accordingly.
3. Can I engrave jewelry with a laser cutter?
Yes, laser cutters can also be used for engraving. You can add intricate patterns, text, or designs to the surface of jewelry pieces. The laser settings need to be adjusted accordingly for engraving.
4. Can I use laser cutting for mass production of jewelry?
Yes, laser cutting is often used for mass production in the jewelry industry. It allows for consistent and precise replication of designs. However, factors like production time and equipment capabilities should be considered.
5. Can laser cutting be used for intricate gemstone inlay?
Yes, laser cutting can create precise channels in materials for gemstone inlay. This technique is commonly used to enhance the overall design of jewelry pieces.


